Click to show/hide contact information.
Loading...

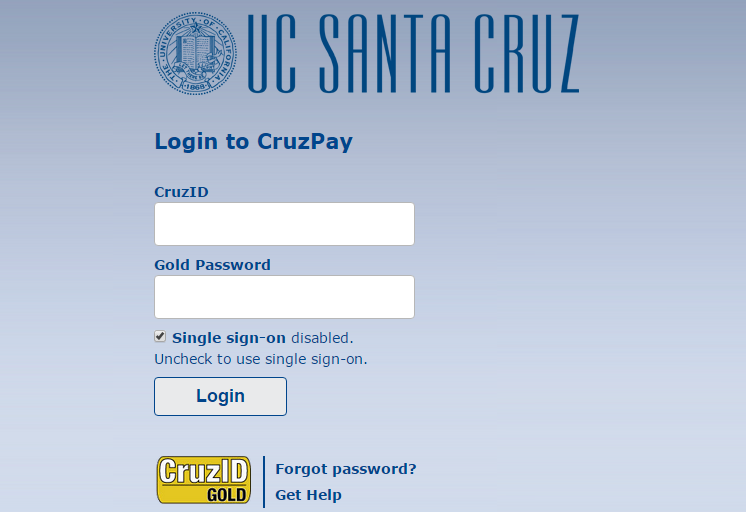
CruzPay: User Resources
Page Content
-
Locate Your Timekeeper
Your timekeeper is the person responsible for reviewing, approving and processing your timesheets. Timekeepers can also answer questions regarding the following:
- Timesheet due dates
- Leave bank balances and adjustments to timesheets
- Timing, accuracy or amount of pay
- Furloughs, leaves and vacations
- Changes in supervisor
- Issues of personnel policy or procedure
- Temporary supervisor group delegations
Locate Your Staff Timekeeper
Payroll Timekeepers provide support to staff employees and students employed in staff job titles.
Locate Your Academic Division Timekeeper
The Academic Personnel Office (APO) provides support to academic employees and students employed in academic job titles.
If you aren’t sure who to contact with your question or concern, please contact the CruzPay Office at
cruzpay_help@ucsc.edu and we’ll be happy to direct you to the appropriate contact.
Back to Top
-
New Accounts
CruzPay accounts are available to users when all of the following criteria are met:
- Your position is eligible for CruzPay (for confirmation contact your Timekeeper).
- The UCSC payroll system has been updated with your current information (for confirmation contact your Timekeeper).
- You have been issued a CruzID and have claimed your CruzID Gold credentials. If you do not know your CruzID, you may search for it using the Campus Directory, or by contacting the ITS Help Desk at help@ucsc.edu or 459-4357. If you do not know your CruzID Gold password, the ITS Help Desk can assist you at help@ucsc.edu or 459-4357.
Once these criteria are met, your CruzPay account will be automatically created. If you are not able to access your CruzPay account with your CruzID Gold credentials or have other account questions, please contact the CruzPay Office at cruzpay_help@ucsc.edu.
Back to Top
-
User IDs
Your CruzPay user ID will be the same as your CruzID. This is the beginning of your UCSC Google Email address minus ‘@ucsc.edu’.
You will use your CruzID Gold password to access CruzPay.
Back to Top
-
How to Reset Your Password
If you do not know your CruzID Gold password, the ITS Help Desk can assist you at help@ucsc.edu or 459-4357. More helpful CruzID Gold information is available here.
Back to Top
-
Login Errors
There are error messages built into the system to describe what incorrect action was made. If you need to contact our office regarding an error, please include the error text and any error numbers in your communication.
Login has failed. Double-check your username and password.
This message means you have typed either your password or login incorrectly. Please double check that you are using your CruzID and CruzID Gold password. If you do not know your CruzID Gold password, the ITS Help Desk can assist you at help@ucsc.edu or 459-4357. More helpful CruzID Gold information is available here.
Back to Top
-
System Requirements
CruzPay is compatible with all browsers and operating systems supported by UCSC ITS, but some users may also have success with other configurations. If issues arise, users may be advised to use supported browsers.
If you need assistance with updating your workstation software, please contact the ITS Help Desk at 459-HELP (4357) or help@ucsc.edu.
If you encounter any difficulties while using CruzPay, please don’t hesitate to contact us at cruzpay_help@ucsc.edu.
Back to Top
-
Creating a Desktop Shortcut to CruzPay
For PC:
- Right click on the desktop and choose New -> Shortcut from the pop-up menu.
- Copy and Paste the following when prompted “Type the location of the item:”
- For Mozilla Firefox:
"C:\Program Files\Mozilla Firefox\firefox.exe" "http://cruzpay.ucsc.edu"
Important: Include the quotation marks!
- Click Next. Type a title to appear under the shortcut; for example, CruzPay.
- Click Finish.
- If you like, you can change the shortcut icon picture by right-clicking on the icon, choosing Properties, then clicking on the Change Icon button. You can download a CruzPay specific icon by right clicking and choosing "Save Target As", or "Save Link As".
For Mac:
- Open your preferred web browser
- Navigate to http://cruzpay.ucsc.edu
- Click and drag the small icon to the left of http://cruzpay.ucsc.edu in your navigation bar to your desktop.
Back to Top
-
Forwarding Email to Another Email Address
Forwarding mail to another email account automatically
UCSC Google Email lets you automatically forward incoming mail to another address, if you'd like.
Here's how to forward messages automatically:
- Click the gear icon
 at the top of any UCSC Google Email page and choose Mail settings.
- Click the Forwarding and POP/IMAP tab.
- From the first drop-down menu in the "Forwarding" section, select 'Add new email address.'
- Enter the email address to which you'd like your messages forwarded.
- For your security, we'll send a verification to that email address.
- Open your forwarding email account, and find the confirmation message from "UC Santa Cruz team."
- Click the verification link in that email.
- Back in your UCSC Google Email account, select the 'Forward a copy of incoming mail to...' option and select your forwarding address from the drop-down menu.
- Select the action you'd like your messages to take from the drop-down menu. You can choose to keep UCSC Google Email's copy of the message in your inbox, or you can send it automatically to All Mail or Trash.
- Click Save Changes.
You also can set up filters to forward messages that meet specific criteria. You can create 20 filters that forward to other addresses. You can maximize your filtered forwarding by combining filters that send to the same address.
How to stop auto-forwarding
If you no longer want to auto-forward your mail, follow these instructions:
- Click the gear icon at the top of any UCSC Google Email page and choose Mail settings.
- Click the Forwarding and POP/IMAP tab.
- In the "Forwarding" section, select the Disable forwarding radio button.
- Click the first drop-down menu in the "Forwarding" section and check for any forwards created by filtering.
If you suspect that forwarding was added without your permission, change your password immediately. Click here to learn how this can happen.
http://mail.google.com/support/bin/answer.py?answer=10957
Back to Top
-
Request Help From the IT Support Center
Back to Top
-
Request Help From the CruzPay Office
Back to Top
There are no results.